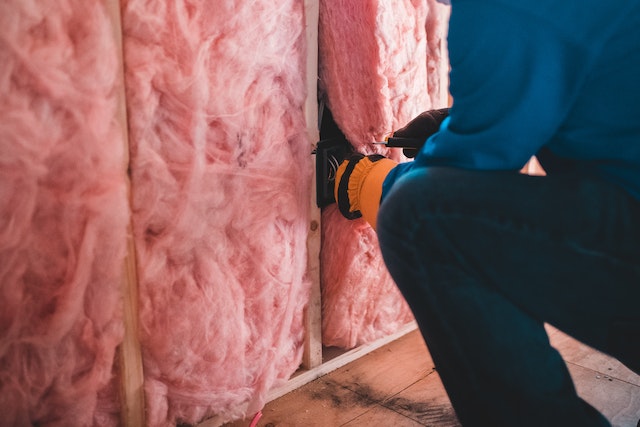
EPS insulation helps conserve and control energy use in your house. Professionals use it on walls, roofs, floors, and foundations to restrict heat transfer and moisture penetration in residential or commercial buildings. Its flexible and customizable properties make it a good fit for building and construction.
Here’s how the EPS installation process works:
Tools and Materials Needed in EPS Insulation
Before starting the project, get proper tools and materials. Hire an experienced professional to lead the construction team throughout the project. Get the right size and thickness of the EPS foam for each section. Know which adhesives or fasteners to use with each foam to adhere to the area’s building codes. Have adequate tools such as a drill, a caulk gun, a knife saw, a straightedge, a trowel, a hammer, nails, and protective gear.
Installation Methods
The installation method you choose depends on the foam’s thickness and the section of the house. Here are some installation methods you can use:
Adhesives
Adhesives and fasteners are the most common methods for installing eps insulation foams. Choosing an appropriate method depends on the types of tools used and the texture of the wall and the board. Adhesives best fit thick foams that would be less effective or more cumbersome using fasteners.
Full-Surface Bonding
Full-surface bonding fits best when using a smooth substrate. Apply the bonding mortar to the EPS foam using a toothed trowel (15x15mm). Use the toothed scoop at an angle for a better sticky texture, and trowel the edges for a uniform surface across the foam.
Fix and align the insulation boards on the wall from the bottom to the top. Use an emery board for a proper fitting and remove any excess adhesive immediately. Measure and align the straightness to enhance precision and accuracy during installation.
Spot Bonding
Spot bonding utilizes an all-around adhesive bead on the edges with six spots on the surface of the EPS foam. You fix, press, and align the board on the wall using an emery board. Affirm the board’s alignment using a straightedge.
Machine Application to the Board
This method uses a machine to apply a uniform coat of the bonding mortar to the board before fixing and pressing it onto the wall. The machine applies the adhesive around the foam with a W pattern at the center, ensuring uniform application once pinned on the wall.
Machine Application to the Wall
In this method, the machine uses a sinuous design to apply an all-around adhesive to the wall. This method is best for smooth substrates. Fix and align your EPS foam boards on the wall while checking on their alignment and bonding properties with the substrate.
Dowels
Prepare the EPS foam for dowel installation by drilling the hole using a screw coil. Confirm the dowel approvals for your building before starting the installation. Fit the dowel in the hole before fastening it using a screw coil wound. For proper installation, check the engagement of the dowel screws in the dowel assembly. Check on the alignment of the foam to the wall before completing the task.
Using Other Fasteners
Thin EPS foams have multiple fastener options when installing them. Your options include installing different types of screws and screw heads, especially for your roofs and ceiling EPS insulations. They are easy and quick to install. You only have to cut your EPS foam to the right size and fix it accordingly. Some experts choose to use different fixing methods, like in tapered insulations, which include some adjustments to your standard installation.
Do’s and Don’ts in Insulation Installations
Consider these steps when choosing the right size and method during installation. Always counter-check your fittings and alignment before completing the job. Aligning your EPS foams prevents the formation of thermal gaps, which would otherwise cause inefficiencies in the building’s thermal insulation.
Check on the composition of the substrate and the foam after installation. It should conform to the set area building codes. Consult your building expert for any clarifications you may need.
Perfecting EPS Insulation Installation Craft
To get a flawless EPS insulation design in your construction, choose the correct foam and cut it to size, use the proper adhesive or fastener, and align your foam to your wall, floor, or ceiling. Don’t overcomplicate the process; let the experts have the final say in your thermal insulation project.


Be First to Comment