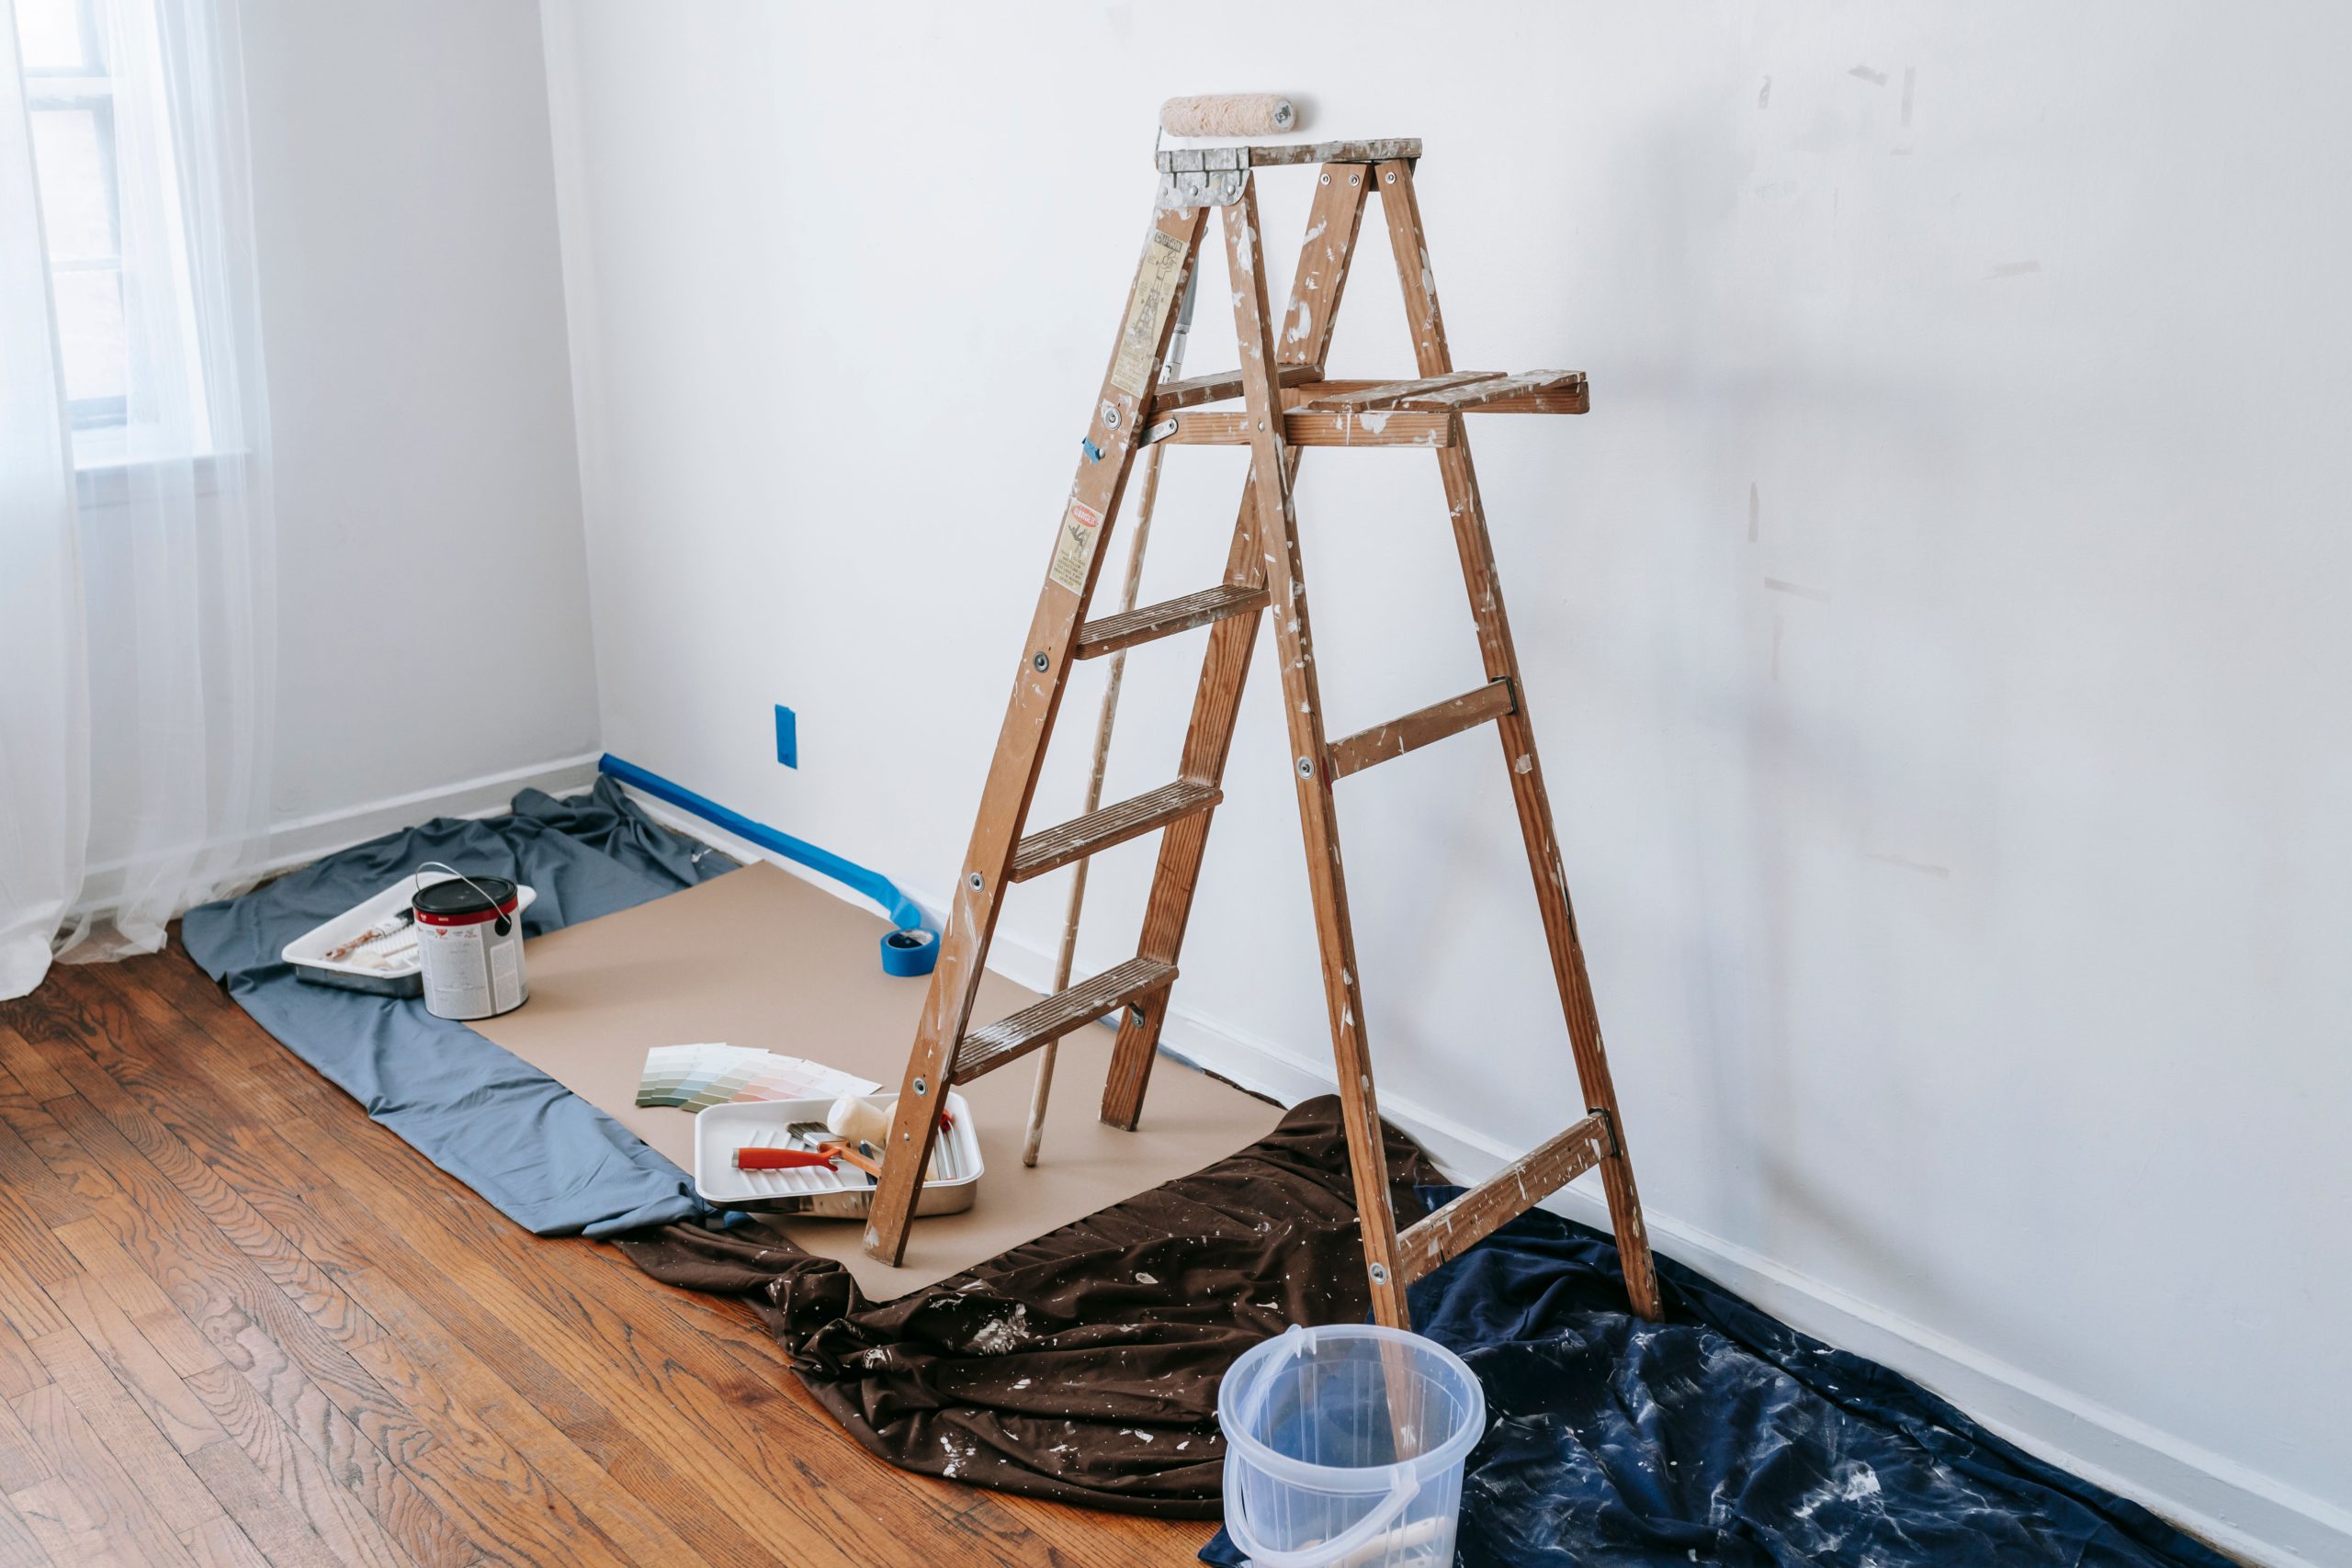
The quality of fresh paint depends on how well the walls are prepared beforehand. Applying wall paint directly to uneven, rough surfaces will lead to poor adhesion, peeling, uneven coverage and more.
This is why wall putty and primer are essential before painting to create a smooth and long-lasting finish. In this guide, we will learn why your wall needs putty and primer and how to apply them.
When You Need Wall Putty and Primer
Wall putty and interior or exterior primer are recommended in most painting projects. Here are common reasons to apply putty and water-based primer.
When the Surface is Rough
Walls with small dents or cracks or an irregular finish should be treated with wall putty before painting. Putty removes the minor imperfections and smooths the surface, while primer creates a uniform base that allows the paint to spread evenly.
When the Surface is Plastered
New plastered walls are porous and tend to absorb paint unevenly. A water-based primer helps seal the pores while putty smooths the surface. This helps reduce paint absorption and improve coverage.
When You Need Better Finish
If you want a smooth, long-lasting, and high-quality paint finish, using both wall putty and primer is essential. They improve paint adhesion, enhance colour uniformity, minimise patchiness and increase the durability of the painted surface.
How to Apply Wall Primer and Putty: Step-by-Step
Follow the correct sequence of primer and putty to ensure maximum paint adhesion and a smooth finish.
Step 1: Clean the Surface
Remove dust, dirt, grease, and loose particles. Repair any major wall damage before starting.
Step 2: Choose the Primer
You can choose a water-based primer for everyday wall paint and oil-based primer if you want to cover tough stains or block moisture.
Step 3: Mix the Primer
Stir the primer thoroughly to achieve a uniform consistency for better adhesion and even coverage.
Step 4: Apply the First Primer Coat
Use a roller or brush to apply a thin, even coat. Avoid thick layers to prevent uneven drying.
Step 5: Apply Wall Putty
For fresh surfaces, apply two coats of putty over the first primer coat. Let it dry and then use fine sandpaper to smoothen it.
Step 6: Apply Final Primer and Topcoat
Fresh Surfaces: Apply a second coat of primer over the smoothed putty. Once it is dry, finish with two coats of topcoat paint.
Repainting: Apply your chosen topcoat paint in two coats and allow it to dry properly.
Tips for a Smooth Finish
- Whenever you are applying putty or primer, allow it to dry completely before applying the next layer.
- It is recommended to use quality tools such as rollers, brushes, and putty knives for even application.
- When applying multiple primer or putty coats, sand gently between coats to remove minor imperfections.
- Do not apply paint to a damp wall, as moisture content can affect adhesion.
- Ensure the room is well ventilated during the preparation and painting process.
Conclusion
Preparing your walls with putty and primer is one of the most important steps in achieving a smooth, durable and professional-looking paint finish. Wall putty helps create an even surface by filling minor imperfections and primer improves paint adhesion and enhances colour consistency.
You can check reputed brands like JSW Paints, which offers a wide range of preparatory products such as putty and primer that come with quick-dry and easy-application features. The JSW wall putty and primer range can help create a smooth and even surface required for a durable, high-quality paint finish.





Be First to Comment