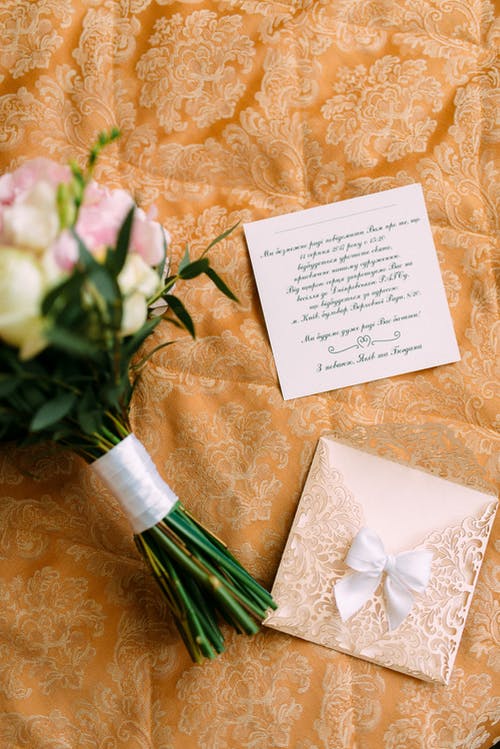
Are you planning to call all your friends and family members to an event formally? Then you need to create some cards. You can either contact someone to create that card, for example, the one’s expert in marriage invitation but then you will need to pay some money for each copy.
Well, if we think a bit pragmatically then we will come to know that the best way today is to create DIY custom invites. Why? Because now we all have access to the necessary tools required to make the custom invitations, be it for the wedding, Christmas, or any other event.
In this article, we will help all those people who wish to create DIY cards & save the dates cards.
so, keep in mind that all these DIY cards would be a piece of art, and any mishap can be fixed, so there is nothing to panic about.
One needs to follow some steps to get the best wedding invitation or birthday card. So let us see what those would be.
Think about the type of event
Are you planning a big event or is it a close family friend’s event? The type of event and its size would decide if you should work hard for the invites or make the simple cards. Then you can also think about the receiver. Who is getting those invites? No one wants to send a bad-looking card to their boss. However, we can easily send an awful invite to our parents. So you can also classify the invites according to the receiver.
Then you need to think about the money you are willing to spend. There can be two conditions, some people will think of spending money, while some would think of it. Both conditions are possible. You only need to spend money for the photo editor, however, there are many photo editors that can be used for free.
Select an editor
To choose the best photo editor you need to do some research. It can be done through the internet, you can either ask someone around you such as your friends, or anyone who is already doing it. The best way for beginners would be visiting an arts college. Nowadays, many young artists are already into creating digital art. So they can tell you about some of the best applications that are great in creating cards.
Another way of finding the best photo editor would be asking all your Facebook friends through the internet. Post a query and there will be many people to tell you which application will be the best for you.
One more thing would be the trial method, you can try the top rated application. Then you can check each one of them, and decide which is suitable to design a DIY invitation.
Select a template
Now, you need to choose a graphic or a design template. For simple cards, you can go for the floral borders, or for the formal-looking cards you can have the water logos. Now, you
should not add the template, just put it aside once you have selected.
Create the base
Next, you should create a base. This base should be of a dark colour if you wish to have the light-colored fonts, if it is the other way round, then you can go for the lighter base. This base colour will be a pre-determinant for the invite. You must choose it wisely.
The font style
Then you should choose the font style, it is very simple just like the one you choose in the microsoft office. There would be several options in the application, you can pick any of them. However, you should ensure that it goes with the decided theme.
Add pictures and graphics if needed
If you wish to add images, for example, for a DIY wedding invitation, you can add some great collages or pictures of you and your fiance. It will give a memorable feeling, or you can have a family photo for christmas. Whatever you wish, then once you have created the base of the invite you should add that picture.
If you want to decorate the card more, you can go for the available graphics too. It would be as simple as editing your photo.


Be First to Comment