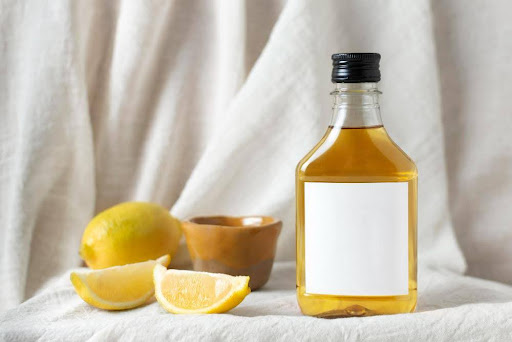
There are few packaging materials with a finishing touch that is as good as one gotten from a product label. The sometimes minimalistic yet intricate design of the labels are irreplaceable pieces of any quality product. So, wouldn’t it be fun to know how these labels are made?
There are a few steps taken to turn an ordinary label from a mere concept into the finished product that drives customer’s interest. Time to have a look.
Turning A Concept into A Product Label
Step 1: Brainstorming The Label Quotes and Prepress
Every finished label you see starts from the beautiful minds of the label makers. This step is crucial to the entire label-making process as it determines how the label will turn out. It’s also at this stage that companies begin to submit their quotes and ideas.
Label makers like CDM Labels gather necessary resources and understand the features, including the printing material, size of labels, and other label information. Once this is done, the artwork is drafted and sent to the prepress department.
It is at the prepress that the drafted labels get scrutinized. Think of it as proofreading to ensure everything is ready and good to go. Fonts are checked, improvements are made, and errors are corrected.
Step 2: Printing The Concept to Life
This is where ideas come to life and the labels take form. It comes right after the prepress team has approved the artwork. Common printing mechanisms involve using direct heat or thermal transfer printing.
These two rely on the principle of directly transferring the inked design onto the label material. It is quick, efficient, and saves costs and resources. As the labels are getting printed, they’re sent to the finishing machine for treatment.
Step 3: Finishing Touches
Next comes a range of treatments and finishing touches. The printed labels are somewhat “naked,” and you can’t have bare labels shipped out. Instead, a finishing machine is used to apply different aesthetic elements and protective layers.
For instance, lamination is done here to offer a protective layer. UV varnishes are added to strengthen the top layers further. For improved aesthetics, the labels go through a process called embossing – this is where images are pressed onto the labels.
Step 4: Winding And Re-Rolling
The labels are printed out as rolls, and after they’ve been cut and slit into manageable sizes, the labels are re-rolled. The essence of this step is to prevent shipping out rolls of labels in large quantities. Instead, they’re re-rolled into manageable quantities to aid easy application.
Step 5: Final Check and Shipping
Again, an extra quality check is conducted to ensure optimal results. This ensures that the labels are of high standards before being sent out to be used for packaging products.
Wrapping Up
Each step in the product label-making process highlights an emphasis on detail, quality, and customer satisfaction. Only the best products are used, and the best techniques are employed. The process is also collaborative, meaning your brand will be well-involved in creating a label that’s worthy of your product.


Be First to Comment