Have you ever needed to measure the height of a tree, a building, or perhaps even the angle of a steep slope? A clinometer, an instrument used for measuring angles of inclination or elevation, can be an invaluable tool for outdoor enthusiasts, surveyors, and students alike.
This guide will take you through the process of how to use a clinometer step by step, so you’ll be taking an accurate slope measurement! Read on.
Understanding the Clinometer
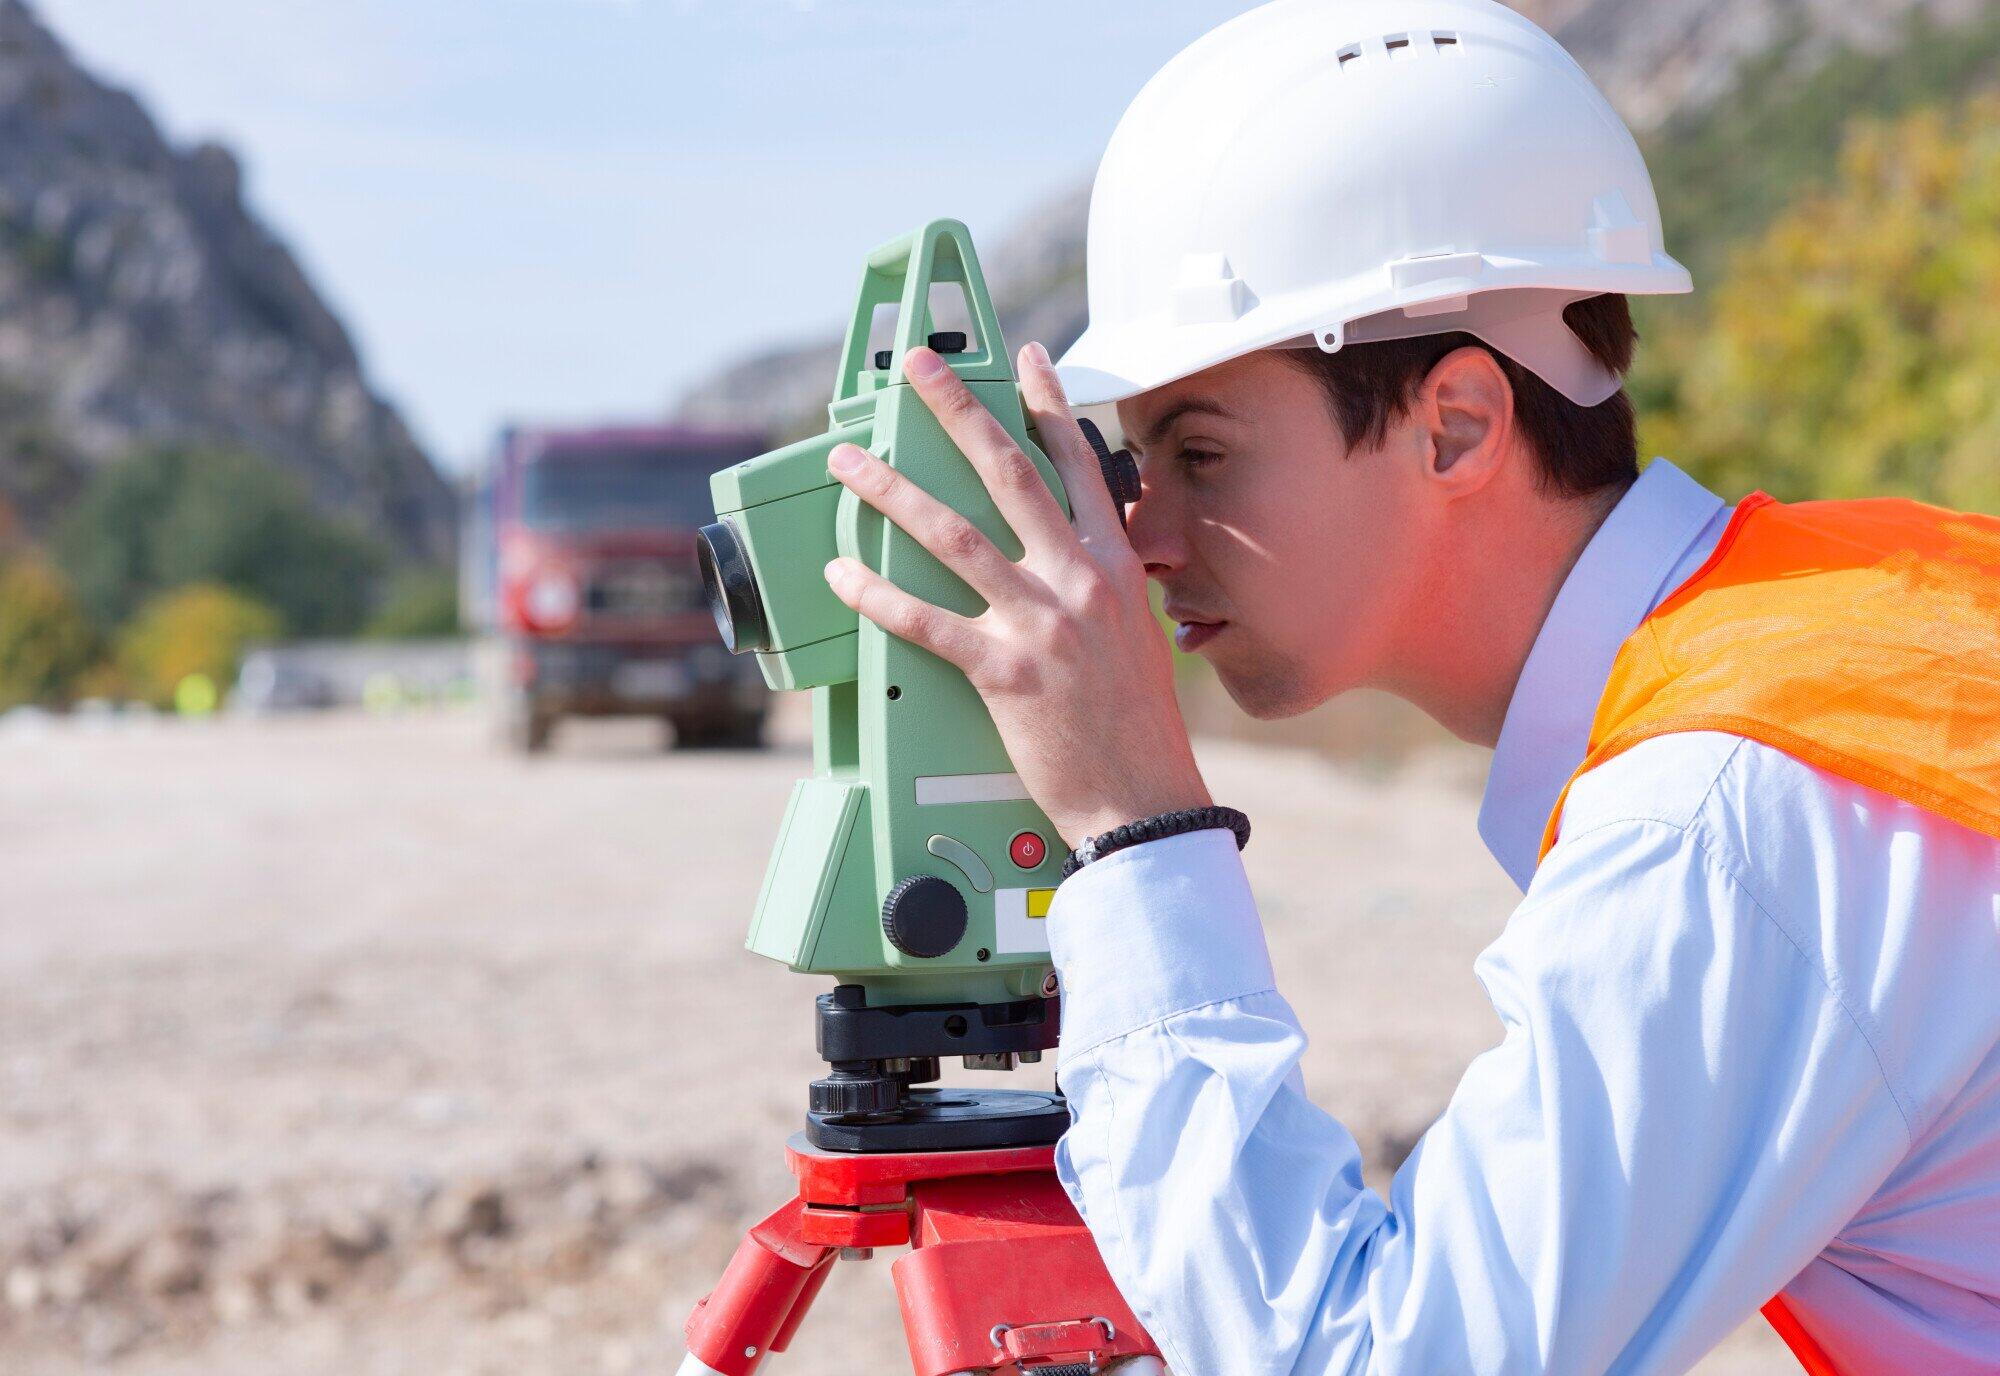
A clinometer is composed of a sighting mechanism to help you aim at your target and a scale that measures the angle of inclination from the observer’s eye line to the sighted object. It’s also known as an inclinometer.
Some clinometers are simple, manual devices, while others might be digital or part of a multifunction tool like a compass. It’s also one of the most useful professional forestry supplies. Whichever type you have, understanding how to read its scale is crucial.
Step 1: Calibration
Before you start, ensure your clinometer is calibrated correctly. For a simple clinometer, this could mean hanging a plumb line from the sighting end to make sure it points directly down when held at eye level. For digital models, follow the manufacturer’s instructions to calibrate the measurement tools.
Step 2: Positioning Yourself
Stand at a point where you can see the top and bottom of what you’re measuring, ensuring that nothing obstructs your line of sight. If you’re measuring something like a tree, find a spot a reasonable distance away where the tree’s entire height fits in your view.
Step 3: Taking the Measurement
Hold the clinometer steady at eye level and aim the sighting mechanism towards the top of the object whose angle you want to measure. If your device is manual, look through the sighting tube or along the sighting edge, lining up the object with the clinometer. For digital devices, you might simply need to aim and press a button.
Step 4: Reading the Scale
Once your sight is set, read the scale on your clinometer. It will likely be marked in degrees.
This number reflects the angle between your eye line and the top of the object. Remember to note whether you’re measuring the angle above or below horizontally – most clinometers will indicate this.
Step 5: Calculating Distance or Height
Knowing the angle alone may not be very helpful unless you’re simply comparing slopes. To use this data to calculate the height of an object or the distance to something, you need to know the math. This is where the concept of a right triangle comes into play.
For height, if you stood a distance away equal to the object’s height, the measure of the angle at which you viewed the top of the object would be 45 degrees. If the angle is less, you’re further away, and if it’s more, you’re closer. You can then calculate the height by using the tangent function in trigonometry.
Step 6: Recording and Repeating
Record your angle measurements carefully, especially if you’re going to calculate height or distance later. It’s always good practice to take a few readings to ensure accuracy.
Learn How to Use a Clinometer Today
With familiarity and practice, a clinometer can become a quick and reliable tool for various kinds of measurements. Whether you’re charting a hiking course or involved in a science project, following these steps on how to use a clinometer can help you.
Keep in mind that precision comes with experience – don’t be discouraged if your first few tries take a bit longer or if your numbers are slightly off.
Check out our site for more!


Be First to Comment