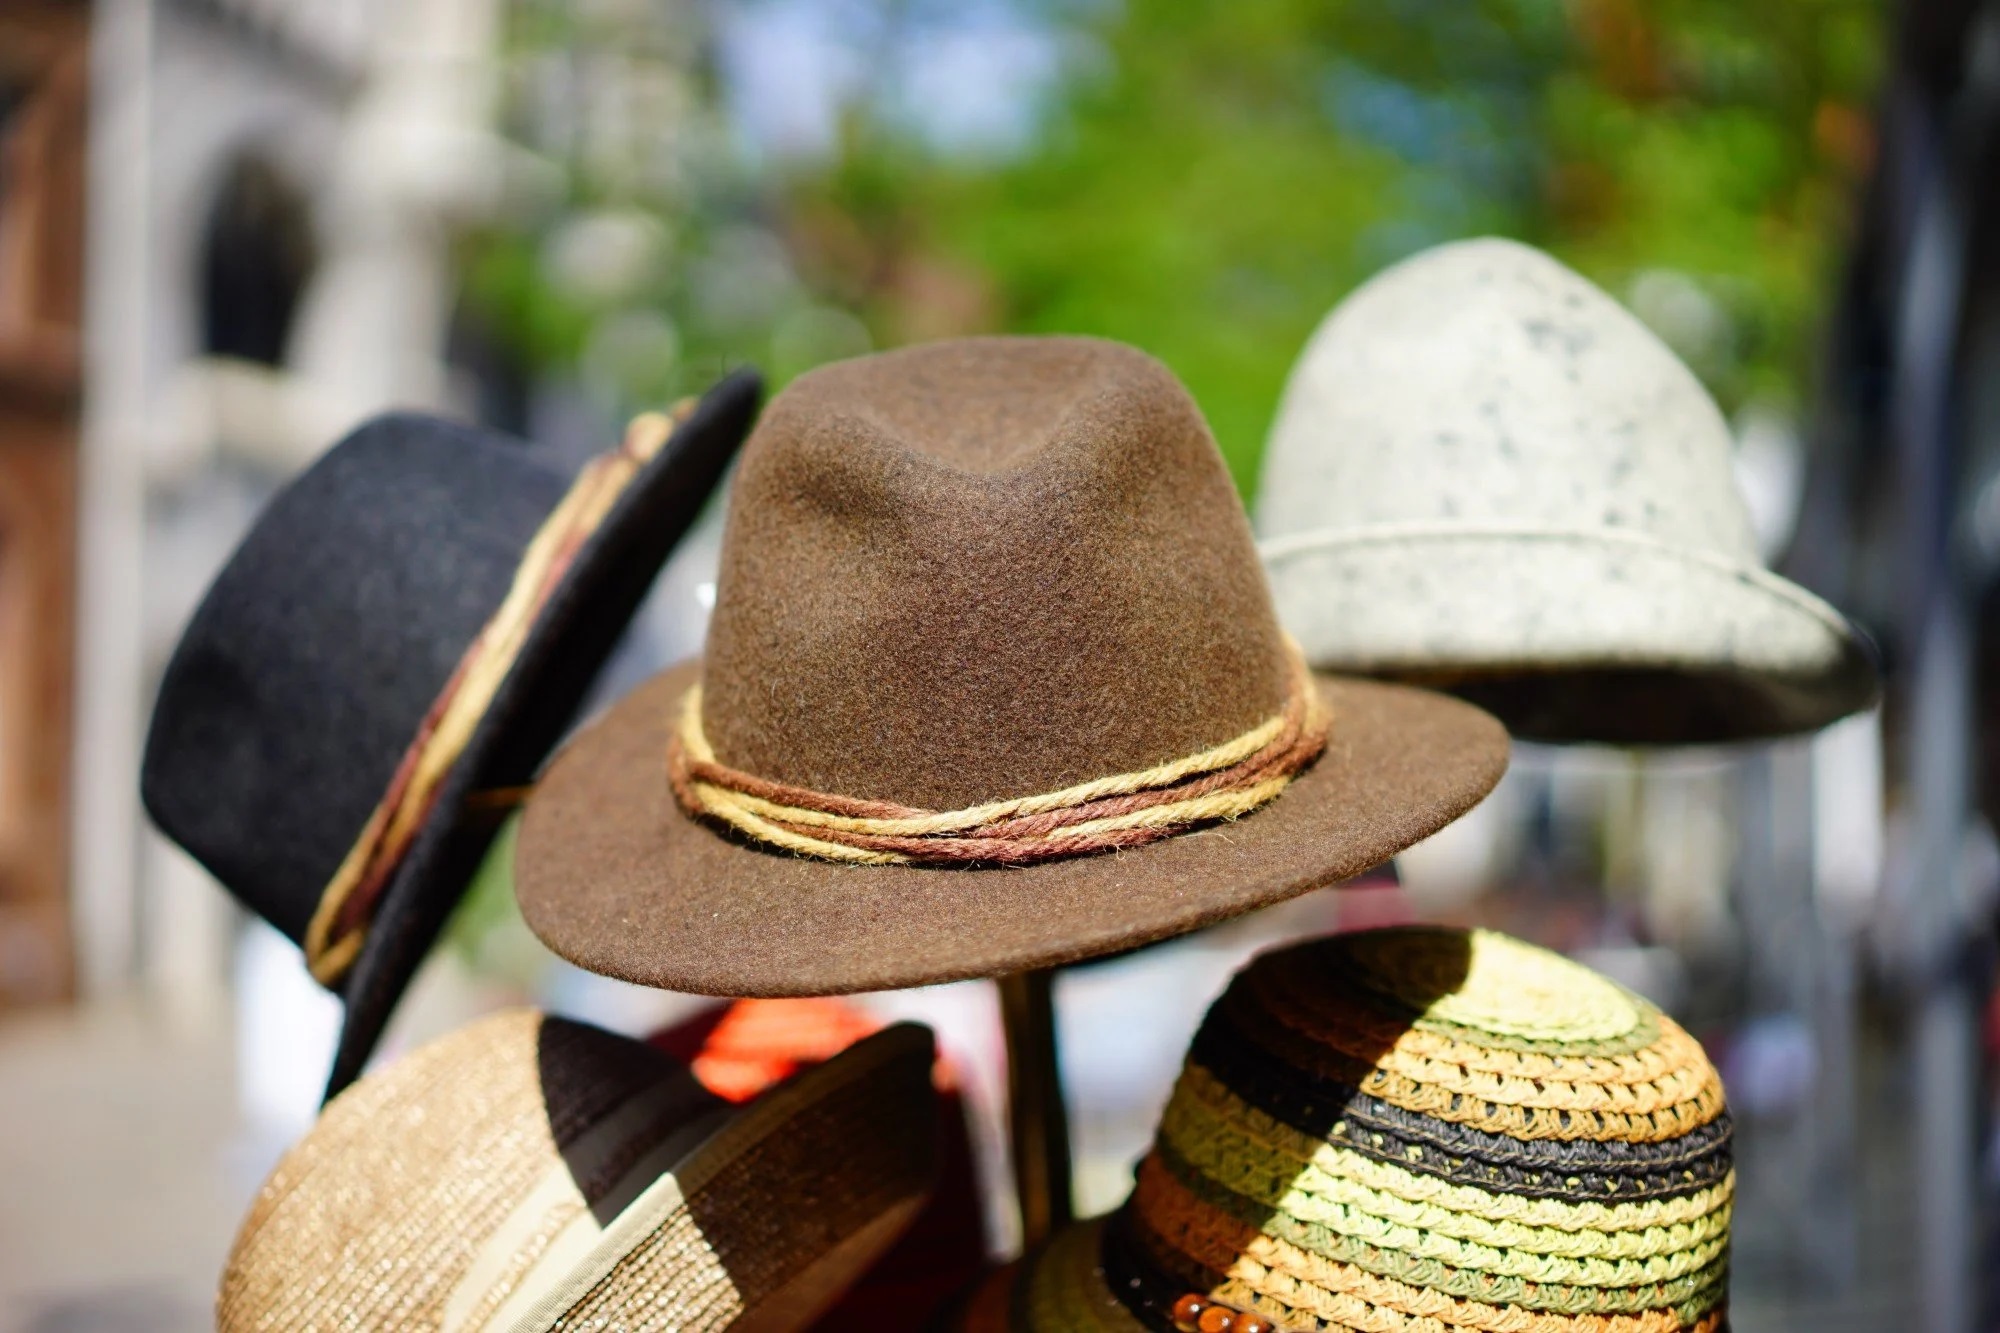
Have you heard that the global headwear industry is worth around $28 billion?
There’s no denying that hats can make us feel stylish and even protect us from the elements. The unfortunate truth is that lots of hats from stores are too expensive. The worst part is that you could spend a pretty penny on a hat that doesn’t have a perfect design that you love.
If you’re a little ambitious, you can learn how to sew a hat in a jiffy! Sewing a hat lets you take full control of the style and fit. Read on for our breakdown of how to sew a hat so you can get started.
Step 1: Get the Materials to Make a Hat
Before you start sewing your hat, it’s essential to gather all the necessary materials. You’ll need the following items:
Fabric of Your Choice
Pick a fabric that suits your style and purpose. Cotton, denim, wool, and felt are popular choices for making hats.
Lining Fabric
Choose a soft and comfortable fabric to line the inside of your hat for added comfort.
Sewing Machine or Needle and Thread
Depending on your preference and sewing skills, you can bust out your sewing machine or try sewing by hand.
Scissors and Pins
A reliable pair of sharp scissors will allow you to cut the fabric in a neat way. You’ll also use pins to hold the fabric together while sewing.
Hat Pattern
You can either purchase a hat pattern or create one yourself.
Step 2: Design a Hat
The next step in hat-making is to design your hat. Consider the style and purpose of your hat. Will it be a wide-brimmed sun hat, a cozy beanie, or a fashionable fedora?
Sketch your ideas on paper, envisioning the size and shape of the hat you want to create. Once you have a hat design in mind, you can get ready to proceed.
Step 3: Create the Hat Pattern
With your design ready, it’s time to create a pattern. If you’re new to pattern-making, start with a simple design to get the hang of it. Take measurements of your head circumference and the desired height and width of the hat.
Using these measurements, draw the pattern on a large piece of paper or cardboard. Don’t forget to add seam allowances to ensure a perfect fit.
Step 4: Cut the Fabric
Place your pattern pieces on the fabric and carefully cut them out using your scissors. Be precise in your cutting to ensure that the pieces fit together seamlessly. Resources like http://sewinging.com/ can be a huge help throughout the hat-making process.
Step 5: Sew a Hat
Now comes the fun part-sewing your hat! Follow these steps:
Sew the Hat Crown
Take the main fabric pieces that form the crown of the hat and sew them together, right sides facing each other. Use pins to keep the fabric in place while sewing. Don’t forget to have a small opening for turning the fabric right side out.
Sew the Hat Brim (If Applicable)
If your hat design includes a brim, sew the brim pieces together in the same way as the crown. Pay attention to the shape and size of the brim to match your design.
Attach the Brim to the Crown
With both the crown and brim right side out, carefully align the edges and sew them together. Take your time to ensure a smooth and neat finish.
Add the Lining
If you wish to add a lining to your hat for comfort, repeat the same steps with the lining fabric, but leave a small opening for turning.
Turn the Hat Right Side Out
Carefully turn your hat right side out through the openings you left in the crown and lining.
Stitch the Openings
Use a needle and thread to hand-stitch the openings in the crown and lining closed neatly.
Step 6: Finishing Touches
Now that you’ve sewn your hat, it’s time to add some personal flair and unique touches to make it your own. Embellishments can transform a simple hat into a statement piece that reflects your individual style. Here are some creative ideas to enhance your hat’s appearance:
Embroidery
Embroidery is a fantastic way to add intricate designs and patterns to your hat. You can use colorful threads to stitch flowers, initials, or any other designs that resonate with you. If you’re new to embroidery, start with simple stitches like the backstitch or running stitch before experimenting with more advanced techniques.
Appliqué
Appliqué involves sewing fabric shapes onto the surface of your hat to create interesting designs. You can use contrasting fabrics or even repurpose old clothing to add a pop of color and texture. Whether it’s a playful animal shape or an elegant geometric pattern, appliqués allow for endless creative possibilities.
Fabric Paints
Fabric paints offer an easy and fun way to add colorful designs to your hat. Use stencils or paint freehand to create patterns, words, or images.
Ribbons and Bows
Ribbons and bows are classic hat embellishments that add a touch of charm and femininity. You can attach them around the base of the crown or create a decorative bow on the side. Experiment with different widths, textures, and colors to find the perfect match for your hat.
Feathers and Beads
For a bohemian or vintage look, consider adding feathers or beads to your hat. Feathers can be inserted between the crown and the brim or attached along the hatband. Beads can be hand-sewn or glued to create dazzling accents.
Patches and Pins
Collecting patches and pins is a popular trend, and adding them to your hat is a great way to showcase your interests and experiences. Whether you’re into travel, music, or quirky designs, patches, and pins allow you to personalize your hat with meaningful symbols.
Did You Love This Hat-Making Guide?
Learning how to sew a hat from scratch will give you a unique accessory to wear with pride. You’ll have a blast experimenting with different kinds of hats.
Want more crafty advice? Browse our blog for sewing techniques and tips!


Be First to Comment