AC installation is a step towards achieving a comfortable and cool indoor environment. There are several types of AC units, including central air conditioning systems, window units, split systems, and portable air conditioners. Choosing the right AC unit may depend on your needs, budget, and living space. Here are a few steps to help you in the installation process:
Select the Appropriate Size
The size of the AC unit is affected by several factors. These factors include the square footage of your area, the number of windows, and the amount of insulation in the walls and roof. A small AC unit may need help to cool the space, while a large AC unit may waste energy and money. The size of your AC unit affects its efficiency, so be precise when selecting the right size.
Prepare the Area for AC Installation
Pick a location that is accessible and secure. Clean the area and remove any obstructions, such as furniture and curtains. Measure the unit’s size and compare it with the available space to check if it fits perfectly. Locate the power supply. Confirm if the power supply can handle the unit’s voltage and amperage. Verify that the area has proper ventilation to prevent overheating. Proper preparation for AC installation may help support your unit’s efficient functioning, saving you from costly damages in the long run.
Gather Supplies and Tools
Gathering supplies can include items like a drill, screws, brackets, and sealant. You may also need electrical supplies like wire connectors and a circuit breaker. These tools help you to install the unit correctly. Check the manufacturer’s instructions for any specific supplies or tools required for your model. Double-check that you have all the necessary parts to avoid interruptions during installation. Wear safety equipment such as goggles and gloves to protect yourself from hazards.
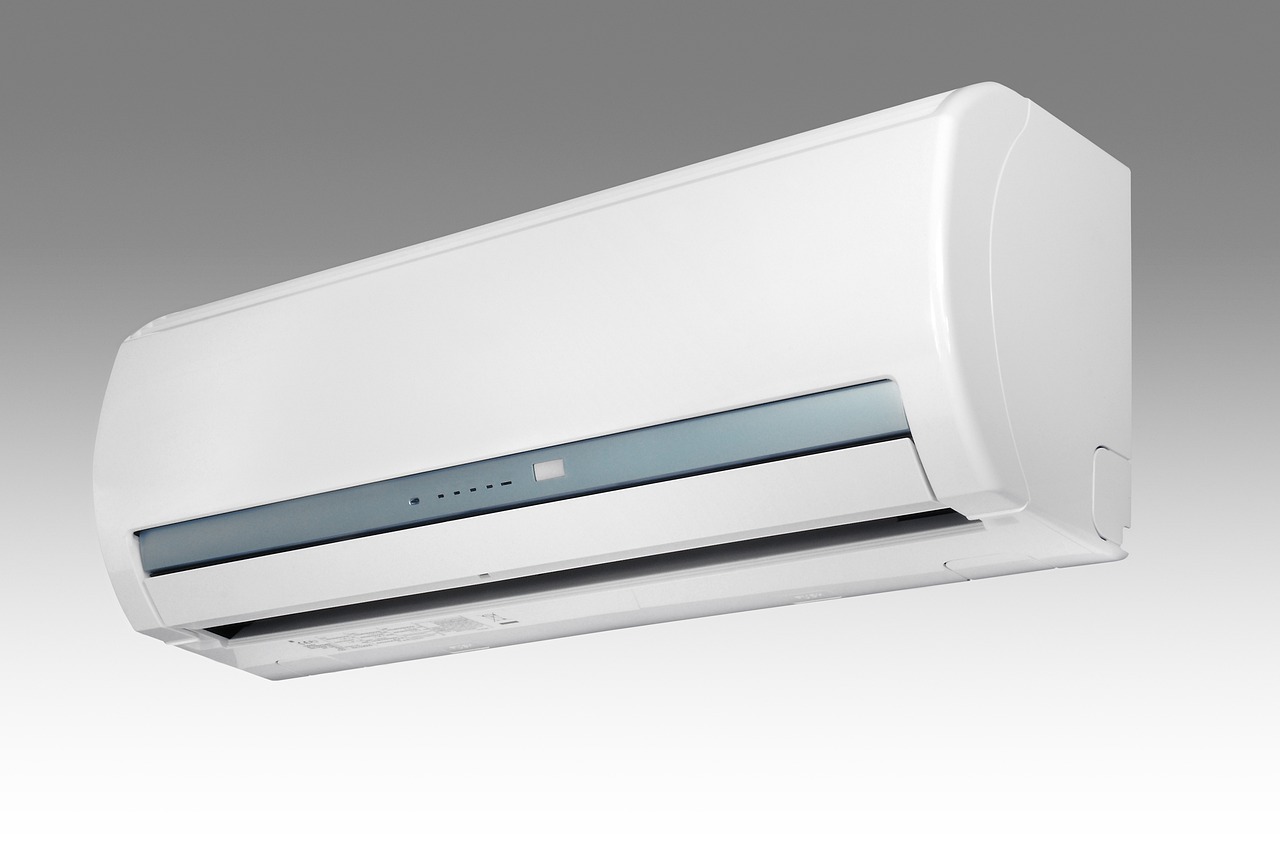
Assemble and Install Your Unit
Place your air conditioning system in its designated spot. Install the mounting bracket and secure it tightly to the wall. Connect the electrical cables and refrigerant lines, following safety precautions. Attach the control wires. Carefully lift and slide the unit into place. Confirm it is level and stable. Secure the unit onto the mounting bracket and connect the drainage pipe and insulation tubing. The AC unit may need to be vented, allowing hot air to escape from your living space. Clear any obstructions for optimal performance.
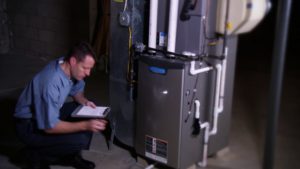
Test the Unit
Turn on the unit to confirm it is functioning properly. Feel the air coming out to check if it is cool. Use a thermometer to verify the temperature and compare it to the thermostat reading. Listen for any unusual noises, like rattling or grinding. Check the air filters to confirm they are clean. If you notice any problems, like warm air or strange noises, contact an HVAC professional for help. Identifying issues early can help in preventing larger, more costly problems down the line. Regularly clean and maintain your AC unit for optimum performance and longevity.
Install Your AC Unit Today
Installing an air conditioner unit in your home can be a quick and easy project. You can settle the installation procedure like a pro with the right preparation and supplies. When selecting the size, opt for the correct one, as an undersized AC unit may not function optimally and would need to be more efficient in cooling down your house. Always use safety equipment like goggles and gloves during the AC unit installation process. Double-check if all the connections are secure. Test the unit to confirm it’s working properly. Following the above steps can help you achieve your ideal temperature in your home.


Be First to Comment