Car radiators perform an important function in all cars, they control the temperature of many mechanisms, and protect them from damage and overheating. When they are worn out, a number of unfortunate consequences are possible. You can avoid them only by timely replacement of the device.
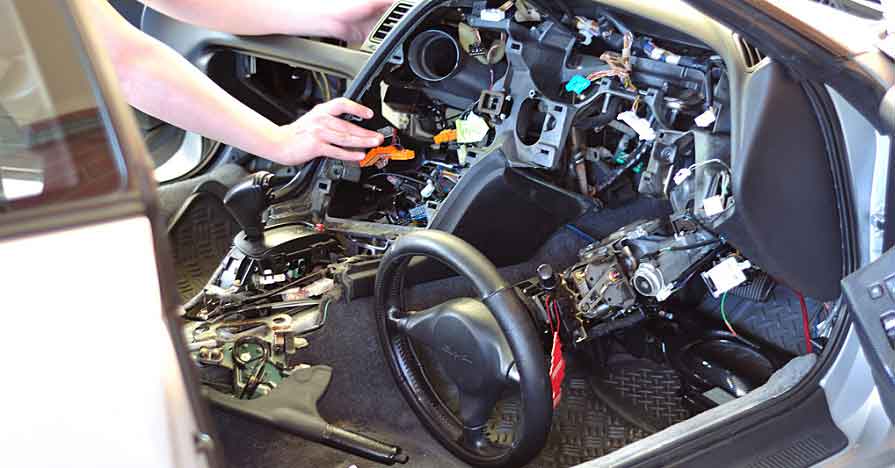
- Consecutive removal of the liner and its sealing part, unscrewing the fixing screw.
- Releasing the hoses and wires from the four upper clamps and two clamps.
- Disconnecting the plus terminal and the minus wiring from the body.
- Next, the jabot is partially pushed forward.
- The next step is to remove the windshield cover, disconnect the terminal from the coolant sensor and remove the hose, which acts as a conductor for the rather hot air coming directly from the expansion tank.
- Disconnecting the washer hose located on the windshield.
- Unscrewing the screws, removing the windshield wipers, part of the fan clamps, and the radiator housing; the windshield cover is also removed.
- Unscrewing the filter fixing screws, and removing the front side of the fan.
- Removal of the back of the fan, steam exhaust hoses, and supply hoses.
- Installation of the new appliance.
Also, see the topic: https://junkcarsus.com/article/radiator-repair–replacement-costs-detailed-estimation
Conducted while maintaining the above steps, following the reverse sequence.
The new heater radiators are designed so that they can be installed in several non-standard places.
The JunkCarsUs team also feels it is important to attach points for the new heater radiator, manufactured in 2003: the lower end of the front window (with a special mount); the area located above the exhaust manifold (with two nuts); the left corner, located near the filter (with one mount).
AC radiator replacement
The air conditioning system is a very complex device that is responsible for creating a comfortable microclimate inside the cabin. It is especially relevant in the summer period. However, very often there are some problems associated with it. If freon leaks, you will most likely need to replace the air conditioning radiator.
Scheme of carrying out the replacement
- Disconnecting the front trim of the unit. This can be done by pressing firmly in the center of each of the four clips.
- Next, unhook the six latches on the underside of the trim.
- Opening and removing the pressure sensor connector.
- Removing the two tubes that go to the radiator.
- Releasing the wiring harness at the bottom of the unit.
- Unscrewing the four screws that secure the unit.
- Removing the device.
- Removal of the pressure sensor and its installation on the purchased device (extreme care should be taken when working with the o-ring).
- Installing the new air conditioner radiator, following the reverse sequence.
Filling with freon on your own is not recommended, it is better to do it in a specialized car service.
Replacing the heater radiator
Knowing how to replace the heater radiator can avoid numerous problems with related working systems.
When selecting a new radiator for the heater, you should consider its year of manufacture. There are some differences between new and old units that can make the installation process difficult.


Be First to Comment